To take the perfect panoramic picture, there are many ways that you can do this. You can buy dedicated panoramic cameras, they are expensive, you can buy a special plate to attach to your tripod, the Nodal plate, these are very expensive and wouldn’t be justified by most people. So what is the next best thing for us?
When I teach photography on my workshops I take as much jargon out as to make it very simple.
To take the perfect panoramic photo you need to find the nodal point. I won’t go into the details in explaining what they is, it’s technical, but the basic idea, is that you need to find the place that is most central where you can rotate your camera and still be square to the plane that you shooting towards and that is basically the Nodal point.
If you were to put your camera on a tripod and rotate the head around it will dip to one side and this is not good, it won’t be flat.You’ll get better results with a ball head but you still need to keep it flat and square.
So what do we do then?
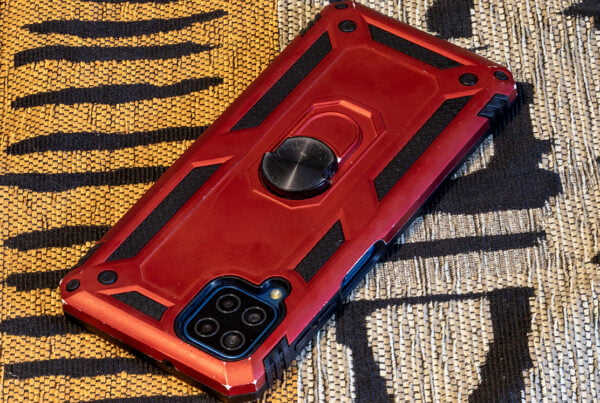
The best way of finding the nodal point is to place your camera on your thumb as shown in the picture here and rotate your camera on your thumb. It’s that simple.
1.Things to keep in mind. You need to overlap your picture by a third.
2.Don’t chose a lens that shoots extreme wide, like 16mm etc as this will be too distorted.
3.The best range to use in my opinion is between 35mm – 50mm.
4. Always shoot vertical and not horizontal. Vertical as it gives more depth to the foreground and it allows some give when it comes to photoshop or lightroom when they stitch it together. There will always be a little cropping that you’ll need to do at the end. Shooting it vertical gives you more room to crop.If you chose the right lens,and your horizon is always flat, you’ll have minimum cropping to do..
5.To help keep the horizon flat, I use the focusing points in my view finder. I select those that are in a line to each other and place them on the horizon, 95% of the time, that gives me a flat horizon.
6. Chose to do this when the light is consistent throughout for better results.
7. Take no more than 10 pictures to stitch together-Ideally 7 would be fine.
8. For better results shooting in manual mode and manual focus will give a more consistent result. Having said that, I have shot some of my panos is Av mode and it has been good but on those days, I was had even light overall.
Using the camera in manual mode for controlling light just does that, controls light and you won’t have any great jumps in the level of brightness from each frame.
9. What I always do is take a picture of my hand as the first frame and the last frame. I do this as it is easy to work out your starting and ending points. If you do several panos in a row and you don’t take a picture of your hand at the beginning and end, you will get lost in the number of pictures you have taken and will have little idea where you started and finished.

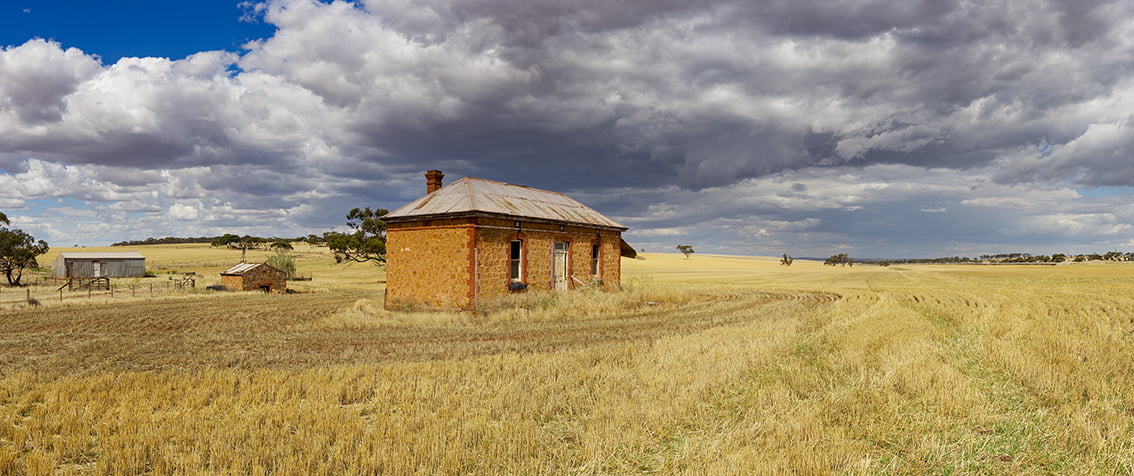

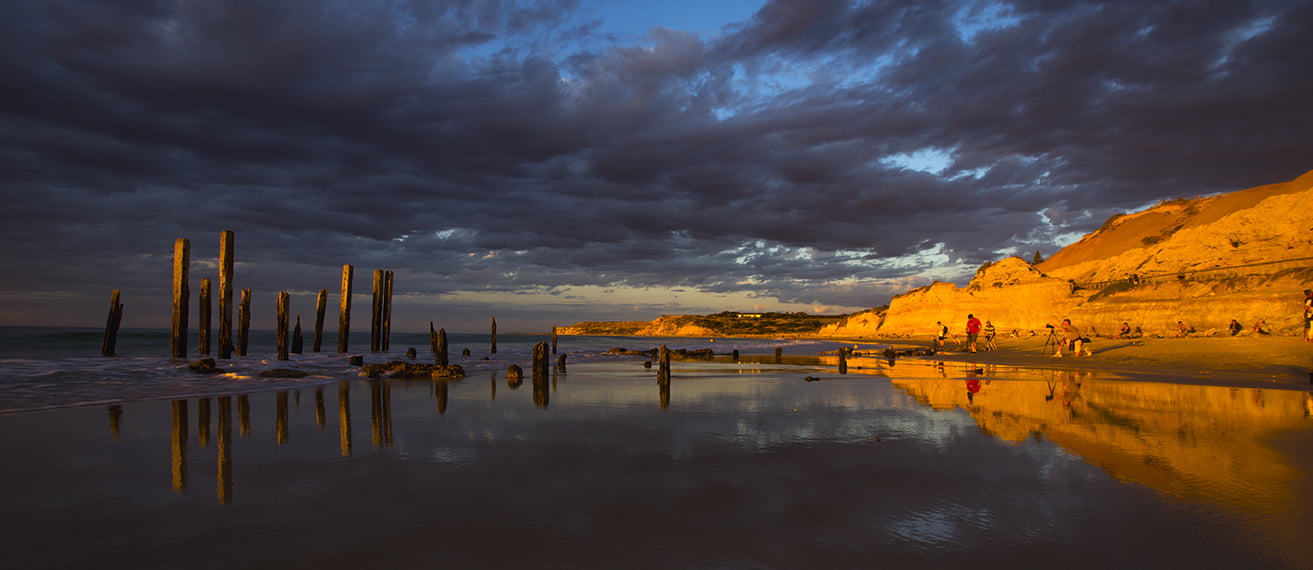
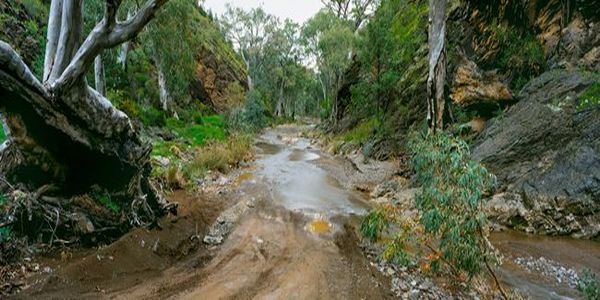 Beautiful Panoramic Landscape Photographs, Post Cards, Greeting Cards, Bookmarks and more available for purchase online now.
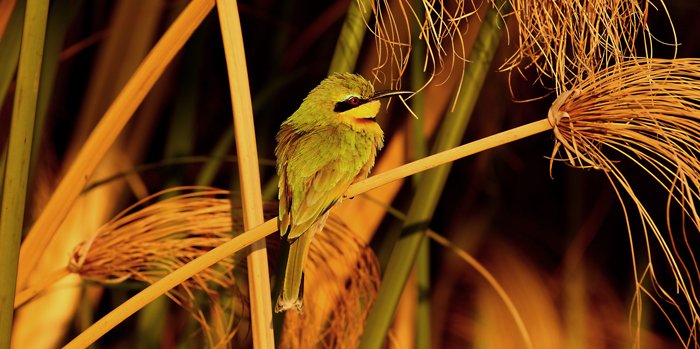
 Stay up to date with our photography workshops and tour dates